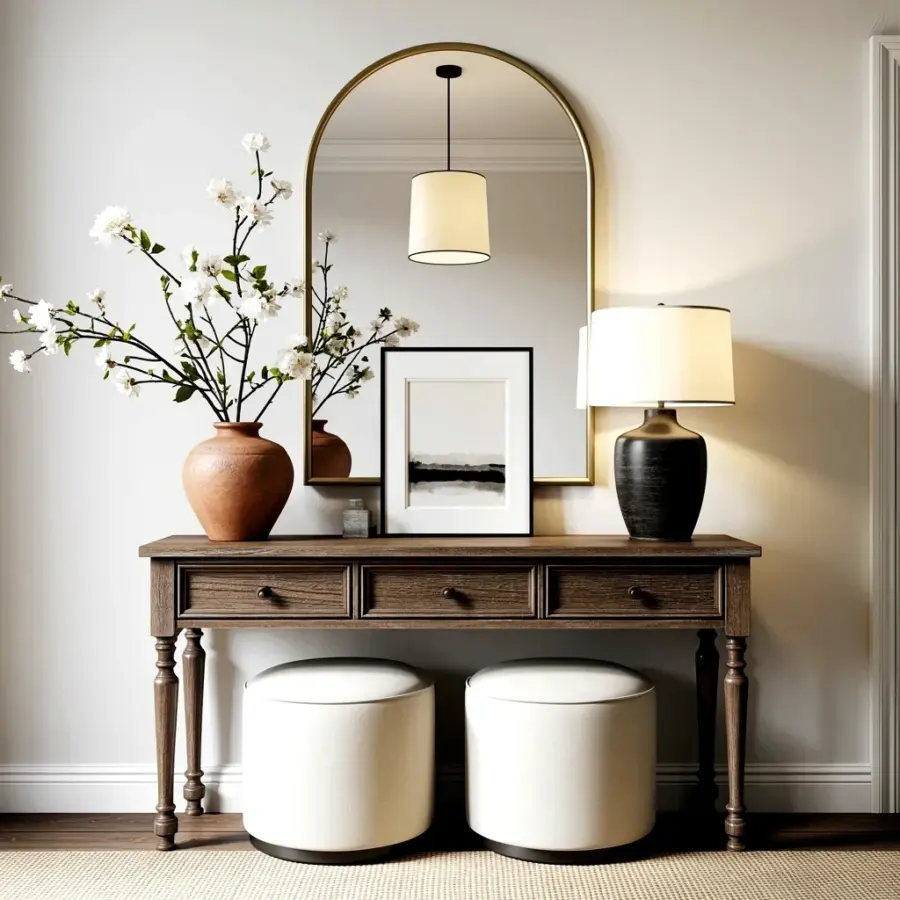
A blank white wall can feel like a waiting room. It’s clean, yes, but it’s also silent, and sometimes you just want a little noise, a bit of shadow and light that doesn’t cost nine hundred dollars. Bas-relief wall decor is usually sold as a luxury item, but the physical materials, plaster, water, and a bit of time, are almost embarrassingly cheap.
Honestly, the markup on store-bought textured panels is wild. You can buy a bag of joint compound for under fifteen bucks and a sheet of plywood for less than that, and you’ll have enough supplies to cover a whole accent wall. That beats the price of a generic canvas print from the home goods store, and it looks way more intentional.
Look, I’m not a professional muralist or a sculptor. I’m just someone who got tired of staring at a blank wall in the hallway and decided to mess around with a trowel. If you can spread frosting on a cake, you can do this.
The process is forgiving. Plaster dries slowly, it sands down easily, and if you hate what you made, you can scrape it off and start again without wasting much money. That’s a pretty good deal for a custom art piece. Let’s get into the actual steps.
Budget friendly materials that actually work for plaster art
You do not need a fancy art supply store for this project. Head to the hardware store instead.
– **Joint compound (dry mix or pre-mixed):** The pre-mixed buckets are easier, but the dry powder is cheaper. Both work, though the powder gives you a slightly harder finish.
– **A cheap trowel or putty knife:** Get a 4-inch and a 6-inch. You don’t need the expensive stainless steel ones; the basic ones with a flexible blade are easier to control anyway.
– **Plaster of Paris:** This is optional, but adding a little to your joint compound makes the surface harder and less likely to chip. A small box costs a few dollars.
– **Acrylic paint or latex paint:** You’ll want this for the final coat. If you’re sticking with the white home aesthetic, grab a slightly off-white shade to add depth.
I also used a plastic drop cloth and a spray bottle filled with water to keep the plaster moist. The water is key if you’re working in a dry room. The plaster will start to set faster than you think, and you need to keep it workable.
How to prepare a flat surface for a relief panel
You can work directly on a painted wall, but I prefer to build a panel first. It’s less stressful. If you mess up, you can just carry the panel to the trash and start over without touching your walls.
Get a piece of 1/2-inch plywood or MDF. Cut it to your desired size. I made mine about two feet by four feet, which is a nice ratio for a narrow hallway. Sand the edges so they aren’t sharp. Brush off the dust and wipe it down with a damp cloth.
Apply a coat of primer to the wood. This seals the surface and gives the plaster something to grip onto. If you skip this, the wood will suck the moisture out of your plaster and it might crack as it dries. Let the primer dry completely. This takes a few hours, so do this step in the morning.
Simple bas-relief techniques using everyday household items
Here’s where it gets fun. You don’t need sculpting tools. I used a plastic fork, an old comb, and the corner of a credit card to create different textures.
Mix your plaster to a thick, peanut-butter consistency. You want it to hold its shape when you spread it. With your trowel, scoop a generous amount onto the panel and spread it out. Build it up in layers, leaving some areas thick and others thin. Don’t worry about making it smooth. The lumps and bumps are what catch the light.
While the plaster is still wet, drag the fork through it in a wavy pattern. Use the comb to make fine, parallel lines. Use the credit card to scrape back some areas to create sharp ridges. The goal is to create a composition that looks organic, like a fossil or a topographical map. Just try to balance the visual weight so it doesn’t look like a random blob.
Creating a low-relief floral design with masking tape and patience
If you want something a little more structured than random texture, try making a central motif. I used painter’s tape to outline a simple, abstract floral shape on the wall before I started. Big petals, maybe five of them, stretching outward from the center.
Apply the tape directly to the primed wood. Then, cover the entire area inside the tape with a thick layer of plaster. Let it dry for a few minutes until it firms up. Now, carefully peel off the tape. You’ll have a raised section that is neat on the edges but organic inside.
Once that base layer is dry, you can go back and add more plaster to the petals to give them a dome-like shape. It’s low relief, so don’t go taller than half an inch. This is a great option for a white home aesthetic because the shadow cast by the raised petal is the only thing that defines the shape.
Painting and sealing your white textured wall art
After the plaster has dried for at least 24 hours, it’s time to paint. I highly recommend using a slightly textured roller for the base coat. It gets into the crevices.
For a true white home aesthetic, you might think all white paint is the same. It’s not. A stark, pure white will look flat and blueish next to a warm white wall. Here’s the thing: I used a soft, creamy off-white for my panel, and it pops beautifully against the brighter white wall in my room. It feels intentional.
Paint the entire panel. Once that first coat is dry, check for any areas you missed. The plaster absorbs paint unevenly, so you will likely need a second coat. After that, you can seal it with a matte acrylic sealer if you want, but it’s not strictly necessary. I skipped the sealer because I liked the dry, chalky texture of the plaster.
Where to hang your homemade bas-relief panels
Don’t stress about hanging a heavy piece. Plaster panels on plywood can weigh a bit, but usually not more than a framed mirror.
I used heavy-duty picture-hanging hooks with a 50-pound weight rating. You want to find a stud if you can, but if you have drywall, use toggle bolts; they’re much more secure than regular drywall anchors. I made the mistake of using cheap anchors once and woke up to a cracked panel on the floor. Not gonna lie, that hurt. Toggle bolts are worth the extra dollar.
Hang the panel at eye level, but consider where your lights are. A ceiling light or a floor lamp pointed at the panel will make the shadows more dramatic in the evening. That is the real magic of this decor: the piece changes throughout the day depending on the light.
Decorating a white home on a budget with sculptural accents
A bas-relief panel is the star, but it doesn’t have to be the only piece in the room. You can make smaller, matching accents to echo the texture.
Grab a few small wooden frames and fill them with plaster textured with the same fork technique. They’ll look like a set, but cheaper. You can also create a small plaster vase cover to place on a bookshelf. It’s a nice way to tie the whole room together without going overboard. Just don’t try to create a whole gallery wall of relief panels unless you want to spend your entire weekend mixing plaster.
Styling around the panel is easy. Because the wall art is neutral and highly textured, you can get away with having other stuff nearby. A single dried branch in a vase, a stack of books, or a simple ceramic bowl all work fine. The room stays calm, welcoming, and interesting without me having to buy anything else.
To be honest, the entire project, including the plywood, the plaster, and the paint, cost me about thirty dollars. For a piece that looks like it came from a trendy boutique hotel, that’s a steal. Plus, you get to tell people you made it yourself, which is always a fun conversation starter.
I think you should give it a shot. It’s messy, a little weird to get used to, and so satisfying when it’s done. Grab some plaster and a trowel on your next trip to the store. Your blank white wall will thank you.
Leave a Comment